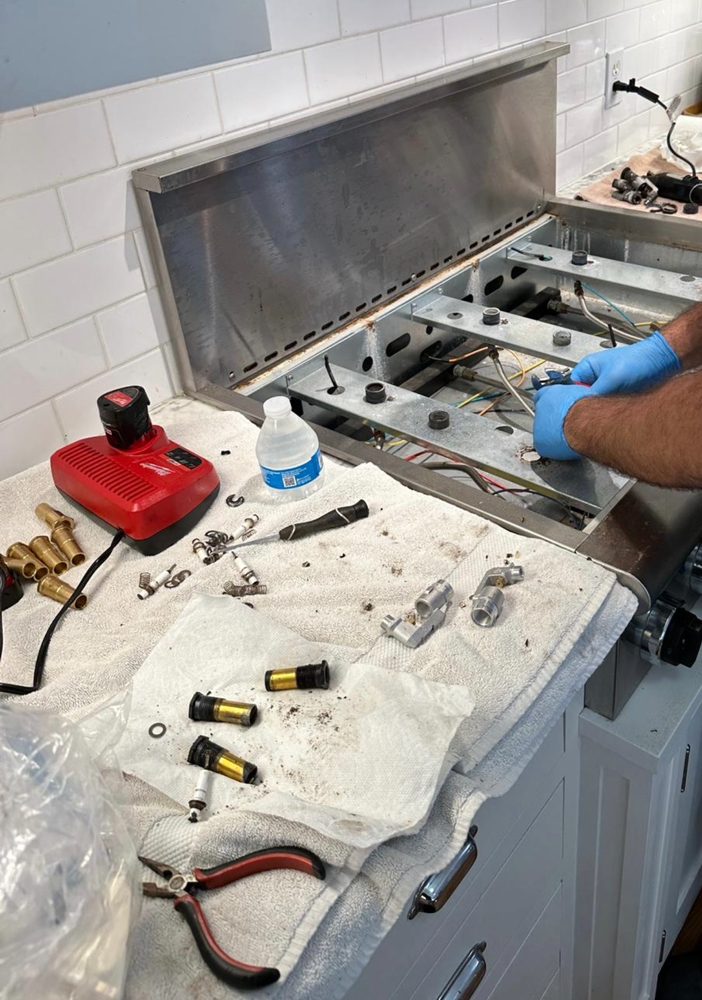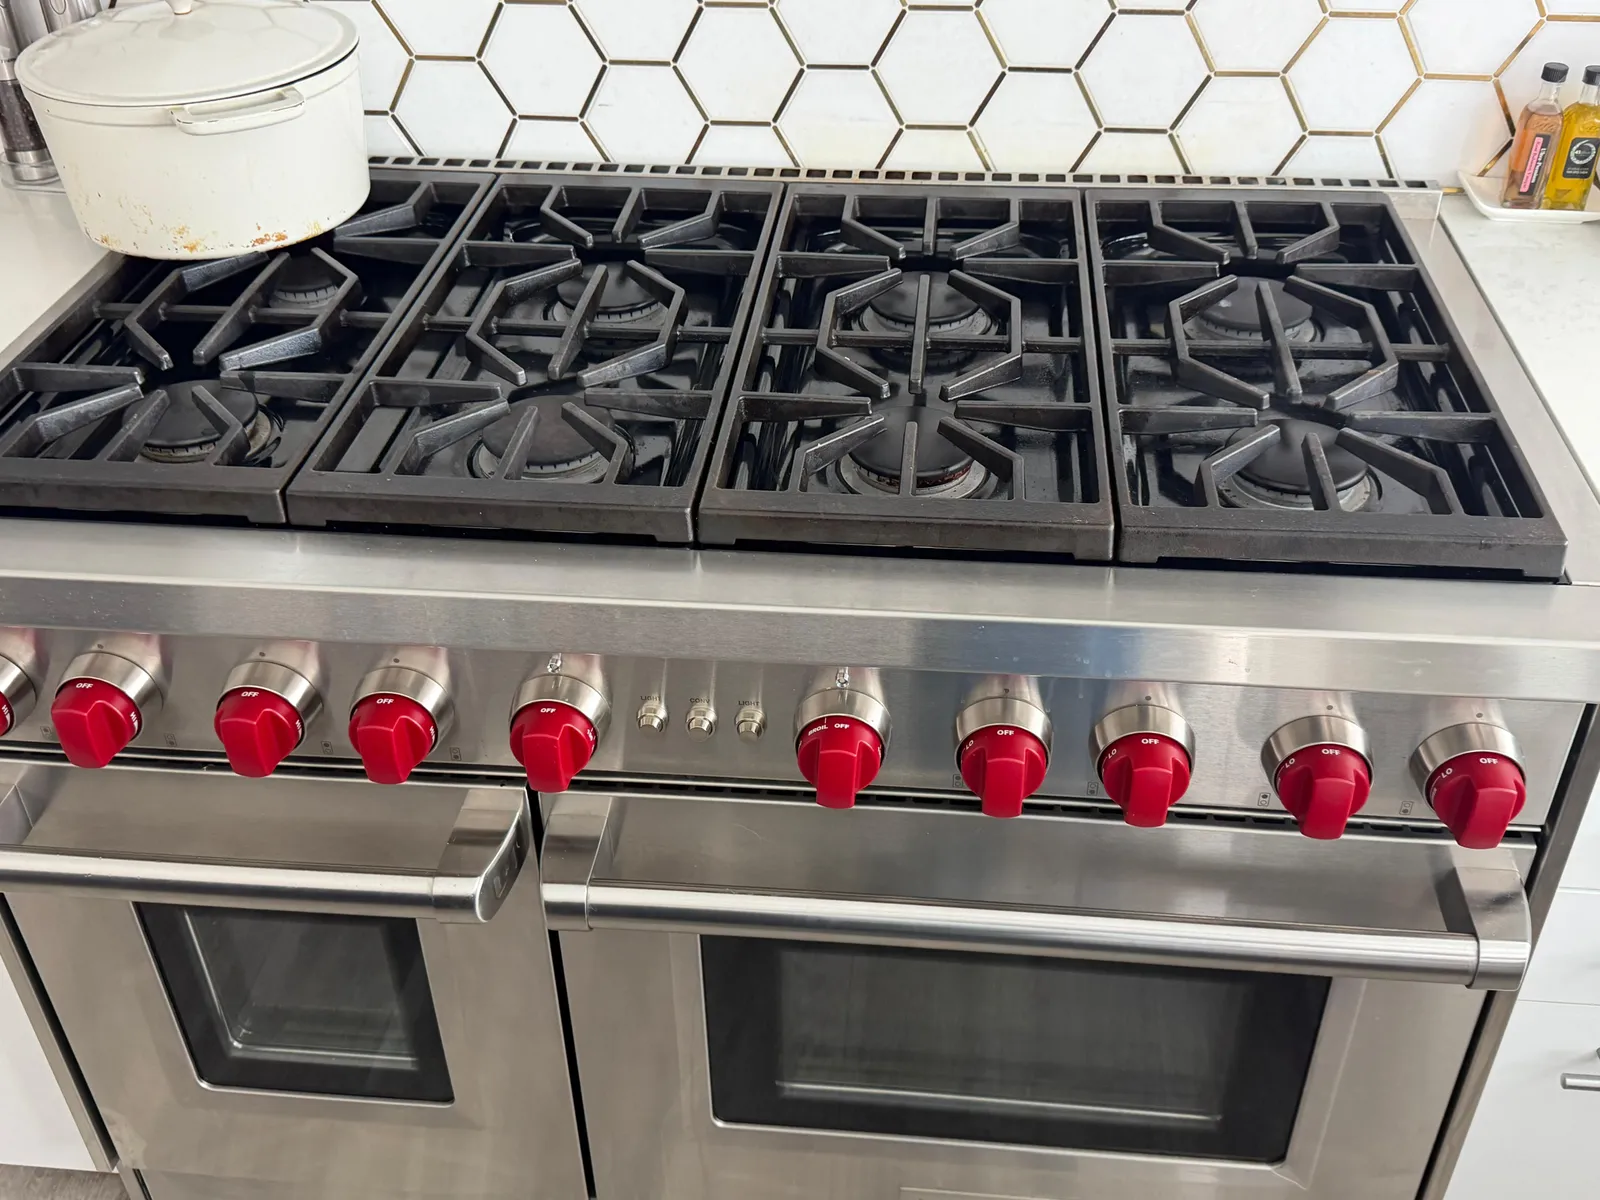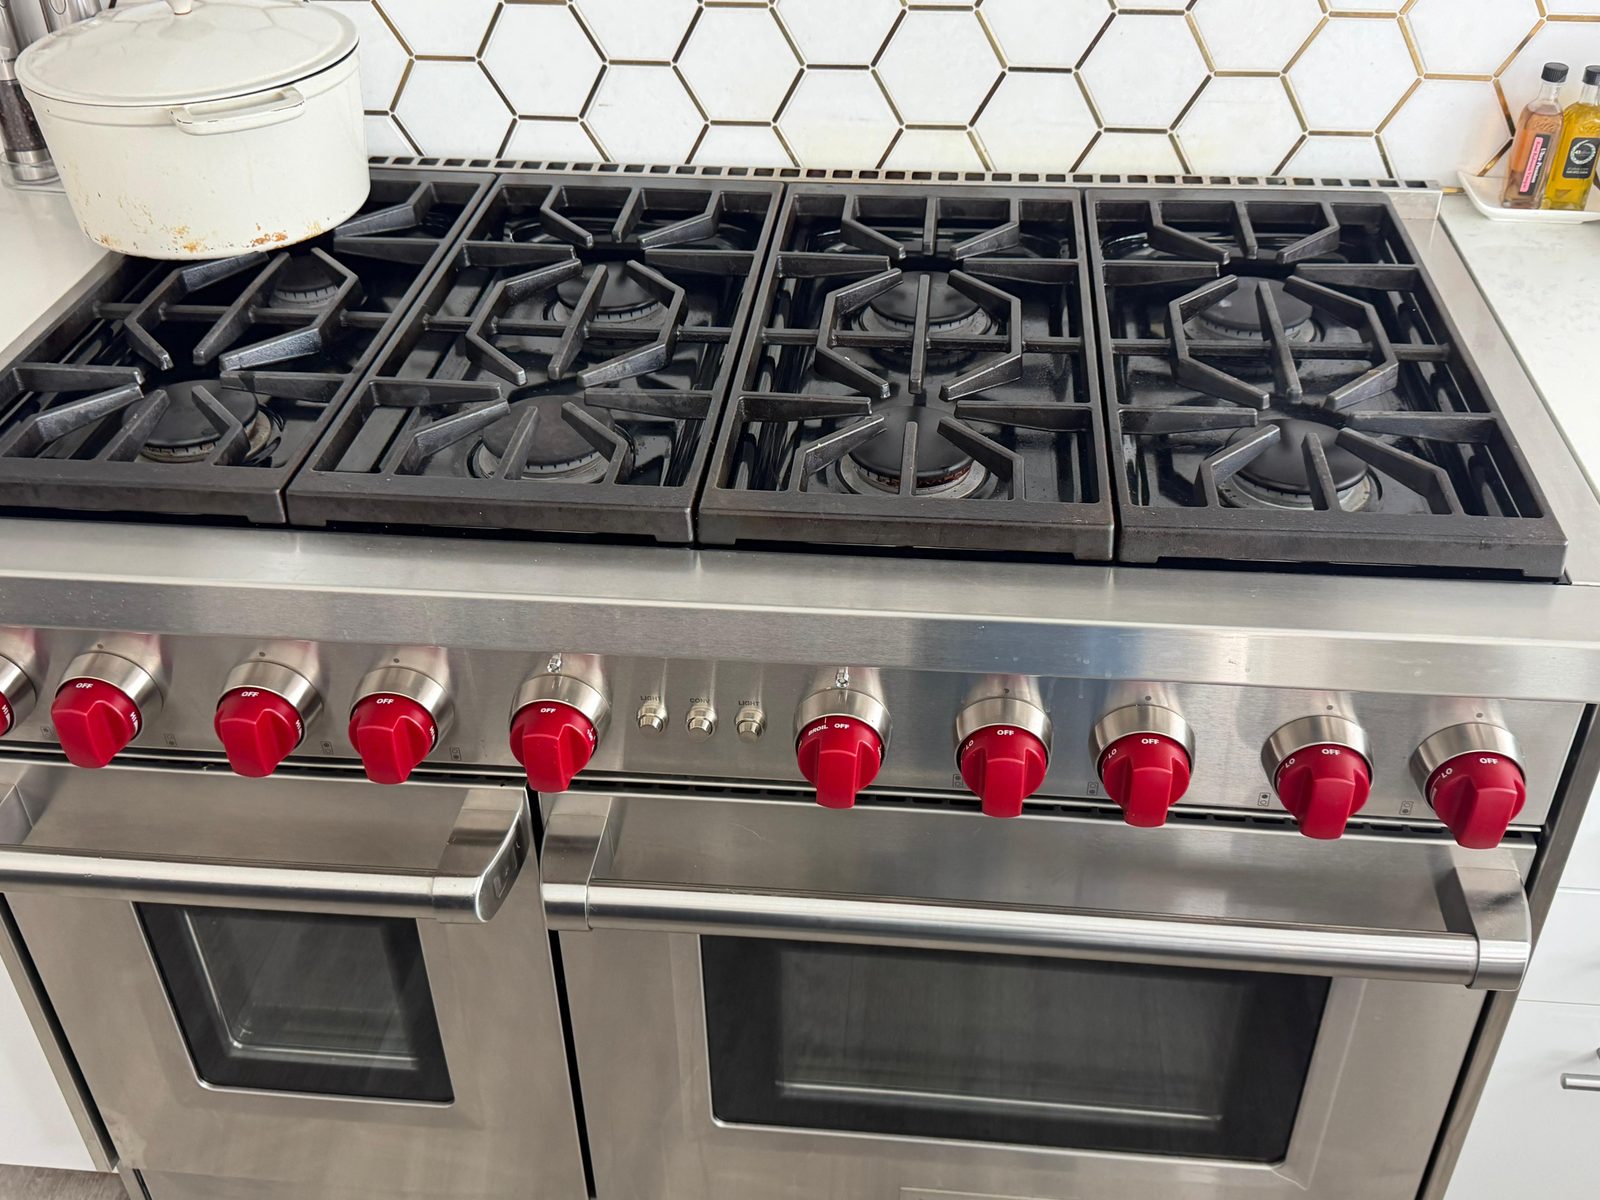
Why Cleaning Causes Ignition Failures
Cleaning your stove is routine maintenance, but the process introduces three conditions that directly interfere with gas ignition. Understanding each one makes the fix obvious.
Water and cleaning solution near the igniter. The ceramic igniter tip is an electrical component. Water or spray cleaner on or near the tip creates a conductive path that bleeds the spark away before it can jump to the burner head. The igniter may still click, but the spark intensity is too low to ignite gas reliably.
Burner cap displacement. When you remove the grate and cap to clean underneath, the cap often goes back slightly off-center or tilted. A cap misaligned by even a few millimeters blocks the igniter port, so the spark fires into empty space rather than toward the gas stream.
Clogged burner ports. Wiping the burner head pushes food residue and grease into the small holes around the rim where gas exits. With the ports partially blocked, not enough gas reaches the igniter to sustain combustion even if the spark is working correctly. Our step-by-step guide to cleaning clogged gas stove burners shows how to clear the ports properly.
The 3 Post-Cleaning Causes
Moisture on the Igniter Tip or in the Switch Housing
How to confirm: the burner clicks but no flame appears, and the problem started immediately after cleaning. Sometimes all burners click rapidly when you activate one, or clicking continues on its own.
Cleaning spray applied near the burner head, or steam and water from wiping a warm cooktop, reaches the ceramic igniter tip. The water disrupts the spark path. When moisture enters the igniter switch housing through the knob shaft, it can cause the igniter to fire continuously without any knob input.
Fix: leave the range off and allow 30 minutes of open-air drying. For stubborn moisture, set the oven to its lowest temperature for 10 minutes to gently warm the interior, then off. Wait another 15 minutes before testing the burner.
Burner Cap Not Seated Correctly
How to confirm: you can see a spark visibly fire from the igniter tip, but the burner does not catch. The spark is working; the path to the gas is blocked.
The burner cap sits directly over the burner head and must be flat and centered for the spark to reach the gas ports at the edge. When the cap is rotated a few degrees or slightly raised on one side, it physically covers the igniter port. The igniter functions normally, but the spark has nowhere to go.
Fix: lift the grate, remove the burner cap, and reseat it flat and centered. It should drop into position without force. If the cap has an alignment notch, orient it toward the igniter electrode. Replace the grate and test.
Clogged Burner Ports
How to confirm: ignition is weak or inconsistent (flame catches briefly then dies), or only part of the burner ring lights. The igniter and cap are both fine but combustion is incomplete.
The burner head has a ring of small holes around its perimeter where gas exits to meet the spark. Wiping the burner surface during cleaning pushes food residue, grease, and cleaning solution into these ports. With one or more ports blocked, the gas flow is uneven and the spark cannot sustain a full flame ring.
Fix: with the range off and cool, clear each port with a straightened paper clip, sewing needle, or thin wire, working it gently around the full circumference of the burner head. Skip the wooden toothpick: Whirlpool's cooktop care guidance says not to use one, and a wooden tip can snap off and lodge inside the port. Never use a drill bit or anything else that widens or gouges the port, which permanently changes the flame pattern. Replace the cap and grate and test.
Step-by-Step Fix: Dry, Reset, Clear
Work through these steps in order. Most post-cleaning failures are resolved by step 2.
Let it dry (30 minutes minimum)
Leave the range completely off with the kitchen ventilated. Do not try to speed up the process by turning a burner on. If your kitchen is humid or you used significant water during cleaning, set the oven to 170°F for 10 minutes, then off, and wait another 15 minutes before testing.
Reseat the burner cap flat and centered
Lift each grate. Remove the burner cap. Inspect the seating surface for any debris. Reseat the cap with the flat face down, centered over the burner head. It should sit level without wobbling. If your range has alignment tabs or notches, align them now. Replace the grate and test ignition.
Clear the burner ports
If the burner lights but with a partial or uneven flame, work around the burner head with a straightened paper clip, sewing needle, or thin wire to clear each port; avoid a wooden toothpick, which can snap off and lodge inside the port. Wipe the burner head surface dry. Reseat the cap and test.
Clean the igniter tip (if still not sparking)
If clicking has stopped or is very weak even after drying, gently clean the ceramic igniter tip with a dry toothbrush. Use short strokes around the base of the electrode. Do not use water, cleaning spray, or metal tools on the ceramic. Let it air-dry for 10 minutes and test.
If It Still Won't Light After Drying and Resetting
If you have dried the igniter thoroughly, seated the cap correctly, cleared the ports, and the burner still does not light, the cause is inside the electrical assembly. Two components are likely:
- Igniter switch. A switch that was wet during cleaning and dried with internal corrosion, or one that was already near end-of-life, can fail permanently. A failed switch on one burner leaves only that burner silent while all others spark normally. Replacement cost: $100 to $250 parts and labor.
- Spark module. If all burners are silent or all burners click without stopping, the spark module has likely failed. Module failures often follow a cleaning event where excess water reached the module housing. Replacement cost: $150 to $350 parts and labor.
Estimates vary by brand, part availability, and diagnosis. Final quote provided before repair.
See our full guide to gas stove igniter causes and repairs for a complete breakdown of every electrical failure mode, with cost ranges and diagnostic steps for each.
Our oven, stove, and range repair service covers all major brands in Orange County. If the self-fix steps above do not resolve the issue, a technician can typically diagnose and repair the switch or module in a single visit.
Frequently Asked Questions
Why won't my stove burner light after I cleaned it?
The three most common post-cleaning causes are moisture on or around the igniter tip, a burner cap that was reseated off-center or slightly tilted, and cleaning solution pushed into the burner ports. Start by letting the cooktop dry completely for 30 minutes, then reseat the burner cap flat and centered, and test. Most post-cleaning igniter failures resolve with drying and cap realignment alone.
How long does it take for a wet stove igniter to dry?
Most moisture issues resolve in 20 to 30 minutes of open-air drying with the range off. If moisture entered the igniter switch housing from heavy cleaning or a large boil-over, set the oven to its lowest temperature setting for 10 minutes to gently warm the interior, then off, and allow another 15 minutes before testing. If clicking or ignition failure continues after thorough drying, the switch may need replacement.
Can cleaning solution damage a stove igniter?
Most household cleaners do not permanently damage the ceramic igniter tip itself, but they can leave a residue that interferes with the spark path once dried. Avoid spraying cleaner directly onto the igniter area. If cleaner reached the tip, wipe it with a dry cloth and let it air-dry fully before testing. Repeated cleaning with liquid spray near the igniter can shorten the lifespan of the igniter switch over time.
My stove burner lights sometimes but not reliably after cleaning. What is wrong?
Intermittent ignition after cleaning usually means partial moisture or partial debris on the igniter tip, or a burner cap that is almost but not perfectly seated. Clean the tip thoroughly with a dry toothbrush, check that the burner cap is flat and centered, and ensure all ports are clear. If ignition is still inconsistent after these steps, the igniter switch is starting to fail and a technician should inspect it.
Should I use compressed air to clean stove burner ports?
Work a straightened paper clip, sewing needle, or thin wire gently around each port opening until it clears, then replace the burner cap and grate and test ignition. Compressed air is not the tool to reach for: none of the major manufacturers we checked recommend it for this. Skip the wooden toothpick, which can snap off and lodge inside the port, and never use anything that could enlarge or gouge the port, which permanently changes the flame pattern.