As appliance repair technicians serving Orange County for over 9 years, we've seen firsthand what happens when fridges don't get basic care. The good news? Most refrigerator problems are preventable. We've organized the seven maintenance habits our technicians recommend to every homeowner, from the highest-impact tasks you should do twice a year to the ongoing habits that add up over a fridge's lifetime. We've also added the data behind each recommendation so you can understand why it matters, not just that it does.
The 7 Maintenance Tips
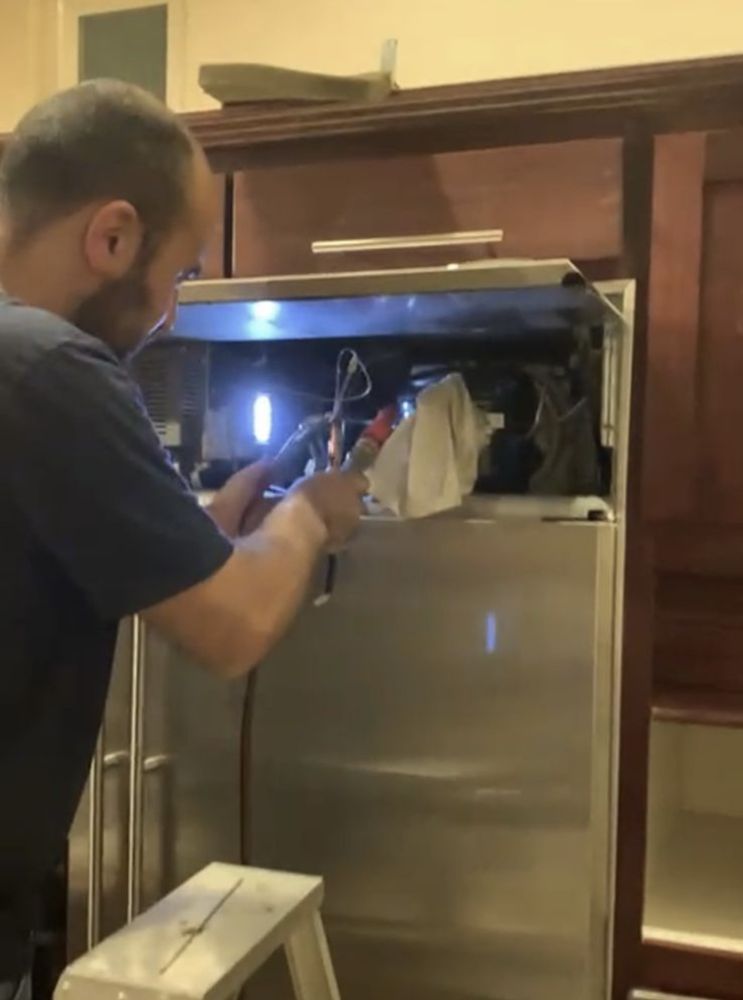
Clean the Condenser Coils
Condenser coils release heat from your fridge. When they're caked with dust, the compressor works harder, driving up energy use and shortening its lifespan. According to U.S. Department of Energy and Energy Star program data, dirty condenser coils can reduce refrigerator efficiency by 25 to 35 percent, forcing the compressor to run longer cycles and draw significantly more electricity. Locate the coils (usually behind or underneath the fridge), unplug the unit, and vacuum or brush them clean. In Orange County's hot summers, when ambient temperatures regularly exceed 90 degrees, fridges work harder than the national average. Cleaning coils twice a year, once in spring before the heat arrives and once in fall, pays off more here than the national once-a-year standard.
Manufacturer guidance: Whirlpool and GE recommend cleaning every 6 to 12 months; every 3 to 6 months in homes with pets (per LG and Whirlpool owner's manual guidance). Sub-Zero recommends annual professional coil service.
Every 6–12 monthsCheck and Replace Door Gaskets
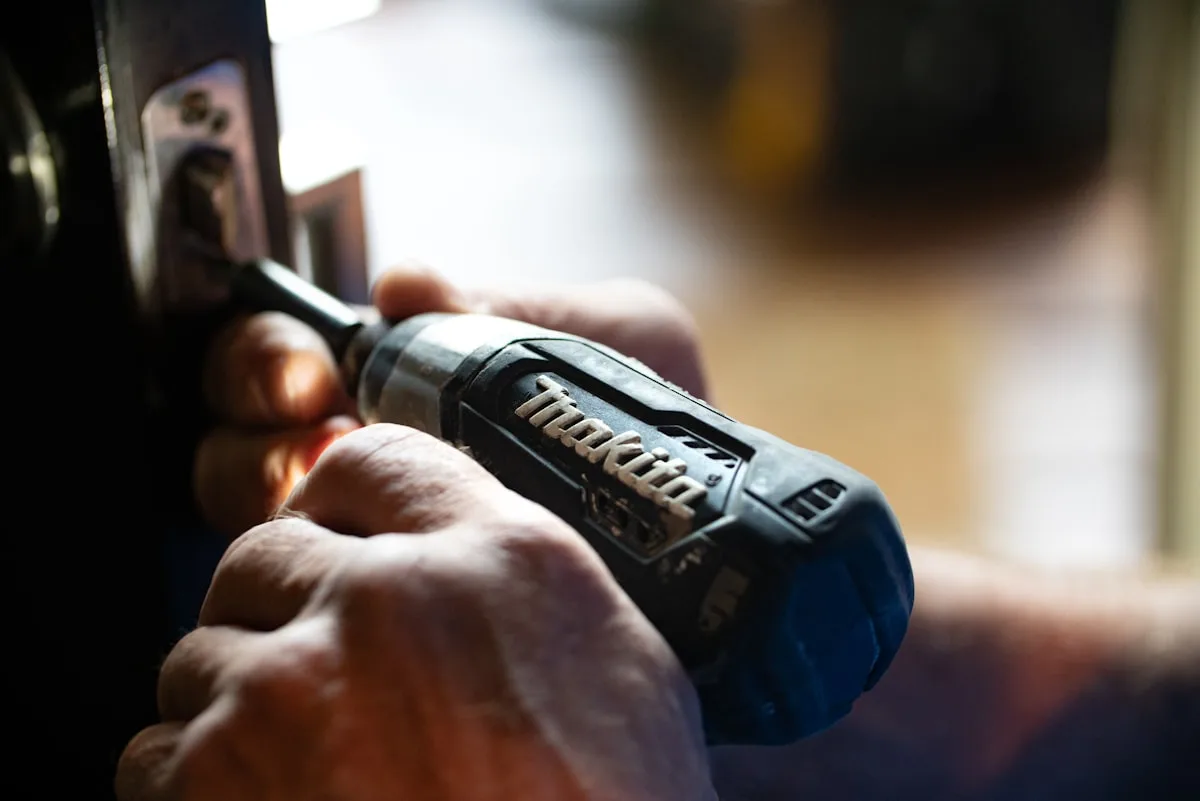
The rubber seal around your fridge door (the gasket) keeps cold air in and warm air out. A worn or cracked gasket means your fridge runs constantly trying to maintain temperature. Test it: close the door on a piece of paper, if it slides out easily, it's time for a new gasket. A failed door seal can increase energy consumption by 5 to 10 percent and puts continuous strain on the compressor. Most replacement gaskets cost $30 to $60 in parts and install in under 20 minutes with a screwdriver.
Inspect every 6 monthsSet the Right Temperature
Your fridge should be between 35°F and 38°F (1.7°C – 3.3°C), and your freezer at 0°F (-18°C). Too cold wastes energy; too warm risks food safety. Use an appliance thermometer to verify your settings, built-in dials aren't always accurate. The U.S. Food and Drug Administration (FDA) recommends keeping your refrigerator at or below 40°F (4°C) to slow bacterial growth; 35 to 38°F is the optimal sweet spot within that FDA guideline.
Check seasonallyKeep It Full (But Not Overloaded)
A moderately full fridge is actually more energy-efficient than an empty one, the food retains cold and helps maintain temperature when the door opens. However, don't pack it so tightly that air can't circulate. Block vents and your compressor will run overtime. If your fridge is regularly near-empty (a vacation home, for example), store a few containers of water to act as thermal mass. This stabilizes temperature swings and reduces compressor cycling.
Aim for 50 to 75 percent capacity as a practical target. Below that, the fridge struggles to hold temperature each time the door opens. Above 80 to 90 percent, airflow suffers and cold spots develop near the back.
Ongoing habitClean the Interior Regularly
Spills and expired food create odors, mold, and bacteria. Remove all shelves and drawers and wipe down with a mild solution of baking soda and warm water (1 tablespoon baking soda per 1 quart of water). Avoid harsh chemical cleaners, they can damage plastic components and leave odors in your food. Pay special attention to the door compartments and crisper drawers, where condensation collects and mold develops fastest. Wipe the door gaskets while you're at it: a clean gasket seals better and lasts longer.
Every 1–3 monthsLeave Clearance Around the Unit
Your fridge needs breathing room. Ensure at least 1 inch on the sides and 2 inches on the back for proper heat dissipation. Pushing it flush against a wall traps heat and makes the compressor work harder, one of the most common causes of early compressor failure we see. Most manufacturers also recommend 1 inch of clearance on top to allow heat to escape upward. Counter-depth and built-in models have different requirements, consult your owner's manual for the exact specs.
Check after any repositioningDefrost Manually If Needed
If your fridge doesn't have auto-defrost, ice buildup in the freezer reduces efficiency and can damage the evaporator coils. When ice exceeds ¼ inch thick, defrost manually: remove food, turn off the unit, and let the ice melt naturally. Never use sharp tools to chip ice, you'll risk puncturing the coils. Instead, use a plastic scraper or lay a folded towel soaked in warm water against the ice. A full defrost on a manual-defrost model typically takes 30 to 60 minutes; keep old towels on the floor to catch meltwater.
Auto-defrost models (most fridges made after 1990) cycle the defrost heater automatically every 8 to 12 hours. If you notice persistent frost buildup in an auto-defrost unit, the defrost heater, thermostat, or timer may have failed and should be inspected by a technician.
As neededMaintenance Schedule at a Glance
Here is a quick-reference summary of all seven tips organized by how often each task should be performed:
- Monthly: Check for spills and odors; wipe door gaskets with a damp cloth
- Every 1 to 3 months: Clean interior shelves and drawers; inspect gasket seal with the paper test
- Every 6 months: Clean condenser coils; check temperature with an appliance thermometer; verify clearance around the unit
- Annually: Replace the water filter if equipped; inspect the water inlet valve for mineral buildup; defrost manually if you have a non-auto-defrost model
- As needed: Replace gasket if the seal fails; manually defrost if ice exceeds one-quarter inch
Setting a recurring phone reminder for the six-month tasks (coil cleaning and gasket check) is the single highest-leverage habit you can build. Everything else follows naturally when you're already in the mode of looking at the fridge.
How Long Will a Well-Maintained Fridge Last?
The National Association of Home Builders (NAHB) tracks appliance life expectancy across large-scale residential construction data. Their findings on refrigerators:
Consumer Reports appliance reliability surveys corroborate this picture. Their data shows that compressor failures (typically $400 to $800, the most expensive refrigerator repair) are disproportionately concentrated in units where condenser coils were never cleaned. A $5 coil brush used twice a year can prevent that repair entirely.
The single most impactful maintenance action you can take is also the simplest: clean the condenser coils every six months and confirm the door gaskets hold a seal. Everything else on this list compounds on top of those two habits.
If your fridge is approaching 15 years old and requires a major repair (compressor, evaporator, or sealed system), consult our repair vs. replace guide before committing to the repair. The calculus shifts as units age. A compressor repair on a 14-year-old fridge often costs more than half the price of a new unit, which is the threshold most industry guidance uses to favor replacement.
When Maintenance Isn't Enough
Even with perfect maintenance, refrigerators do eventually need professional attention. Each of the following warning signs points to a specific problem that should not be deferred:
- Fridge isn't cooling to the set temperature. If coil cleaning and gasket checks don't resolve this, the compressor, evaporator fan, or refrigerant charge may be the issue. Call a technician before food spoils.
- Excessive condensation inside the fridge or on the door. Usually indicates a failed door gasket, a blocked defrost drain, or a faulty defrost heater. Left unaddressed, standing moisture promotes mold growth and accelerates interior component corrosion.
- Unusual noises: clicking, buzzing, or louder humming. Clicking can indicate a failing start relay. Buzzing often signals a condenser fan issue. Loud humming that wasn't present before may mean the compressor is under abnormal strain.
- Water pooling under or inside the unit. Most commonly a clogged defrost drain line or a cracked drain pan. Both are straightforward repairs if caught early.
- Food spoiling faster than expected. If your thermometer confirms the fridge is holding temperature but food still spoils, the evaporator coils may be frosted over or the fan may not be circulating air correctly.
Frequently Asked Questions
Sources & References
- National Association of Home Builders (NAHB). Study of Life Expectancy of Home Components. Appliance life expectancy data for standard residential refrigerators: average 13 years. NAHB Research (2021).
- U.S. Food and Drug Administration (FDA). Are You Storing Food Safely? Recommended refrigerator temperature: at or below 40°F (4°C) to slow bacterial growth. FDA Consumer Guidance.
- U.S. Department of Energy / Energy Star Program. Refrigerators: Energy Efficiency Tips and Data. Energy Star-certified refrigerators use 350 to 500 kWh/year; pre-2001 models use 700 to 1,100 kWh/year. Energy Star (2024).
- Whirlpool Corporation, GE Appliances, LG Electronics. Refrigerator Owner's Manuals. Manufacturer-recommended condenser coil cleaning intervals: every 6 to 12 months; every 3 to 6 months in homes with pets.